There is more to motorcycle cleaning than just splashing out water and drying it with a rag. Though the process is not complicated, there are certain measures to take to ensure that you are doing it right.
Keep reading as we explain how to wash your motorcycle for best results.
Importance of Cleaning Your Motorcycle
First, it is important to know why you need to recurrently wash and clean your motorcycle. If the reasons are not yet obvious, let us have a quick discussion on the matter.
First of all, regularly cleaning your motorcycle ensures that it will continue to run efficiently.
Cleaning your motorcycle means ensuring your bike is able to take you to your destinations efficiently and safely.
Other than an optimized performance, motorcycle cleaning increases the driver’s confidence and motivation when driving.
Needless to say, when your bike looks great, you will feel good and confident of riding on it anywhere you want to go. Nobody wants to ride on a muddy and sludgy motorcycle!
Last but not least, a clean motorcycle reflects one that receives proper nutrition.
What this means is that, whenever you clean your motorcycle, you also check on its maintenance or any probable mechanical issue and damage that may affect your ride.
Catching these issues will compel the driver to give the attention the motorcycle deserves to prevent further damage or malfunction.
Tips for Washing Your Motorcycle
The right way of washing a motorcycle needs your knowledge of its components. It entails knowing the proper way of executing it without causing harm to any parts or surface.
To ensure proper care and maintenance, here are clear tips to washing your motorcycle.
Tip #1: Wash your motorcycle manually when the time of the day isn’t too hot.
If you are aware of the do’s and don’ts and have enough time, consider washing your own bike yourself.
Though there are already a lot of commercial washing facilities around, you can only truly ensure quality care if you handle it yourself.
Preferably, do not wash your bike in the middle of the day. When it is too hot, the soap or detergent you use on your bike’s surface may dry even before you can rinse them off.
Water contaminants also become more aggressive when warm so when they create spots on your bike, it may be difficult to remove them.
Tip #2: Only wash your motorcycle when it has completely cooled down.
When the motorcycle’s pipes or engine are still hot, do not try to cool it down with water. Hard metals expand when they are hot.
Splashing them with cool water upon cleaning will cause sudden temperature changes to the metal parts which can eventually damage them.
Of course, you can always have them fixed, but it is relatively costly.
Tip #3: Be sure you have all the necessary and proper supplies and products before starting.
The necessary supplies basically depend on which part of the motorcycle would you like to clean.
The basic supplies you will need are a water, soap or liquid detergent, leather conditions, soft cloth or sponge, and brushes.
Be sure to use only a mild soap or detergent to avoid corroding the alloy parts and rub them gently using a soft cloth or sponge on your bike. pH level between six and eight are best for detergents as they aren’t too acidic or alkaline to damage your bike’s paint.
Having all of these supplies will make it easier for you to get the job done while ensuring that your products are safe for your motorcycle.
Tip #4: Start cleaning the chain before any other parts.
A bike’s chain is probably the filthiest part of a motorcycle. Thus, it is just logical to start with it before getting the rest of the bike cleaned.
Once it is cleaned, it will be easier to attend to the other parts because you are beyond your worries of the dirty chains that may spread out in all other parts of the bike.
Cleaning the chains require some chain cleaning products and brushes especially intended for it.
Be sure to purchase these products and not just resort to household items like shampoos or body soap because you will only end up discouraged.
After cleaning the chains, be sure to lubricate them right after washing and drying the motorcycle and give it some time to penetrate.
One important reminder in cleaning a bike’s chain is not to use a pressure washer as it may ruin it. Using a high-power stream of water pushes in the dirt along with the water.
These elements stay inside the chain and the only way that these are let out is through prolonged riding when the chain gets extremely hot.
Overall, a pressure washer is bad for the health of your chain and the motorcycle as a whole.
Tip #5: Let the water soak before washing your motorcycle.
Though you may be tempted to immediately rinse your motorcycle, it is preferable to do it after the water has soaked.
Nevertheless, there are some spectacles of dirt like the gunk that cannot be soaked with water.
The areas of your chains, wheels, and other spots where fuel or oil leaked need not the soaking but the right cleaning products.
Be sure that you have them in order to have an easier time in cleaning this pesky dirt.
Tip #6: Do not scrub your motorcycle as if you’re scrubbing a rigid surface.
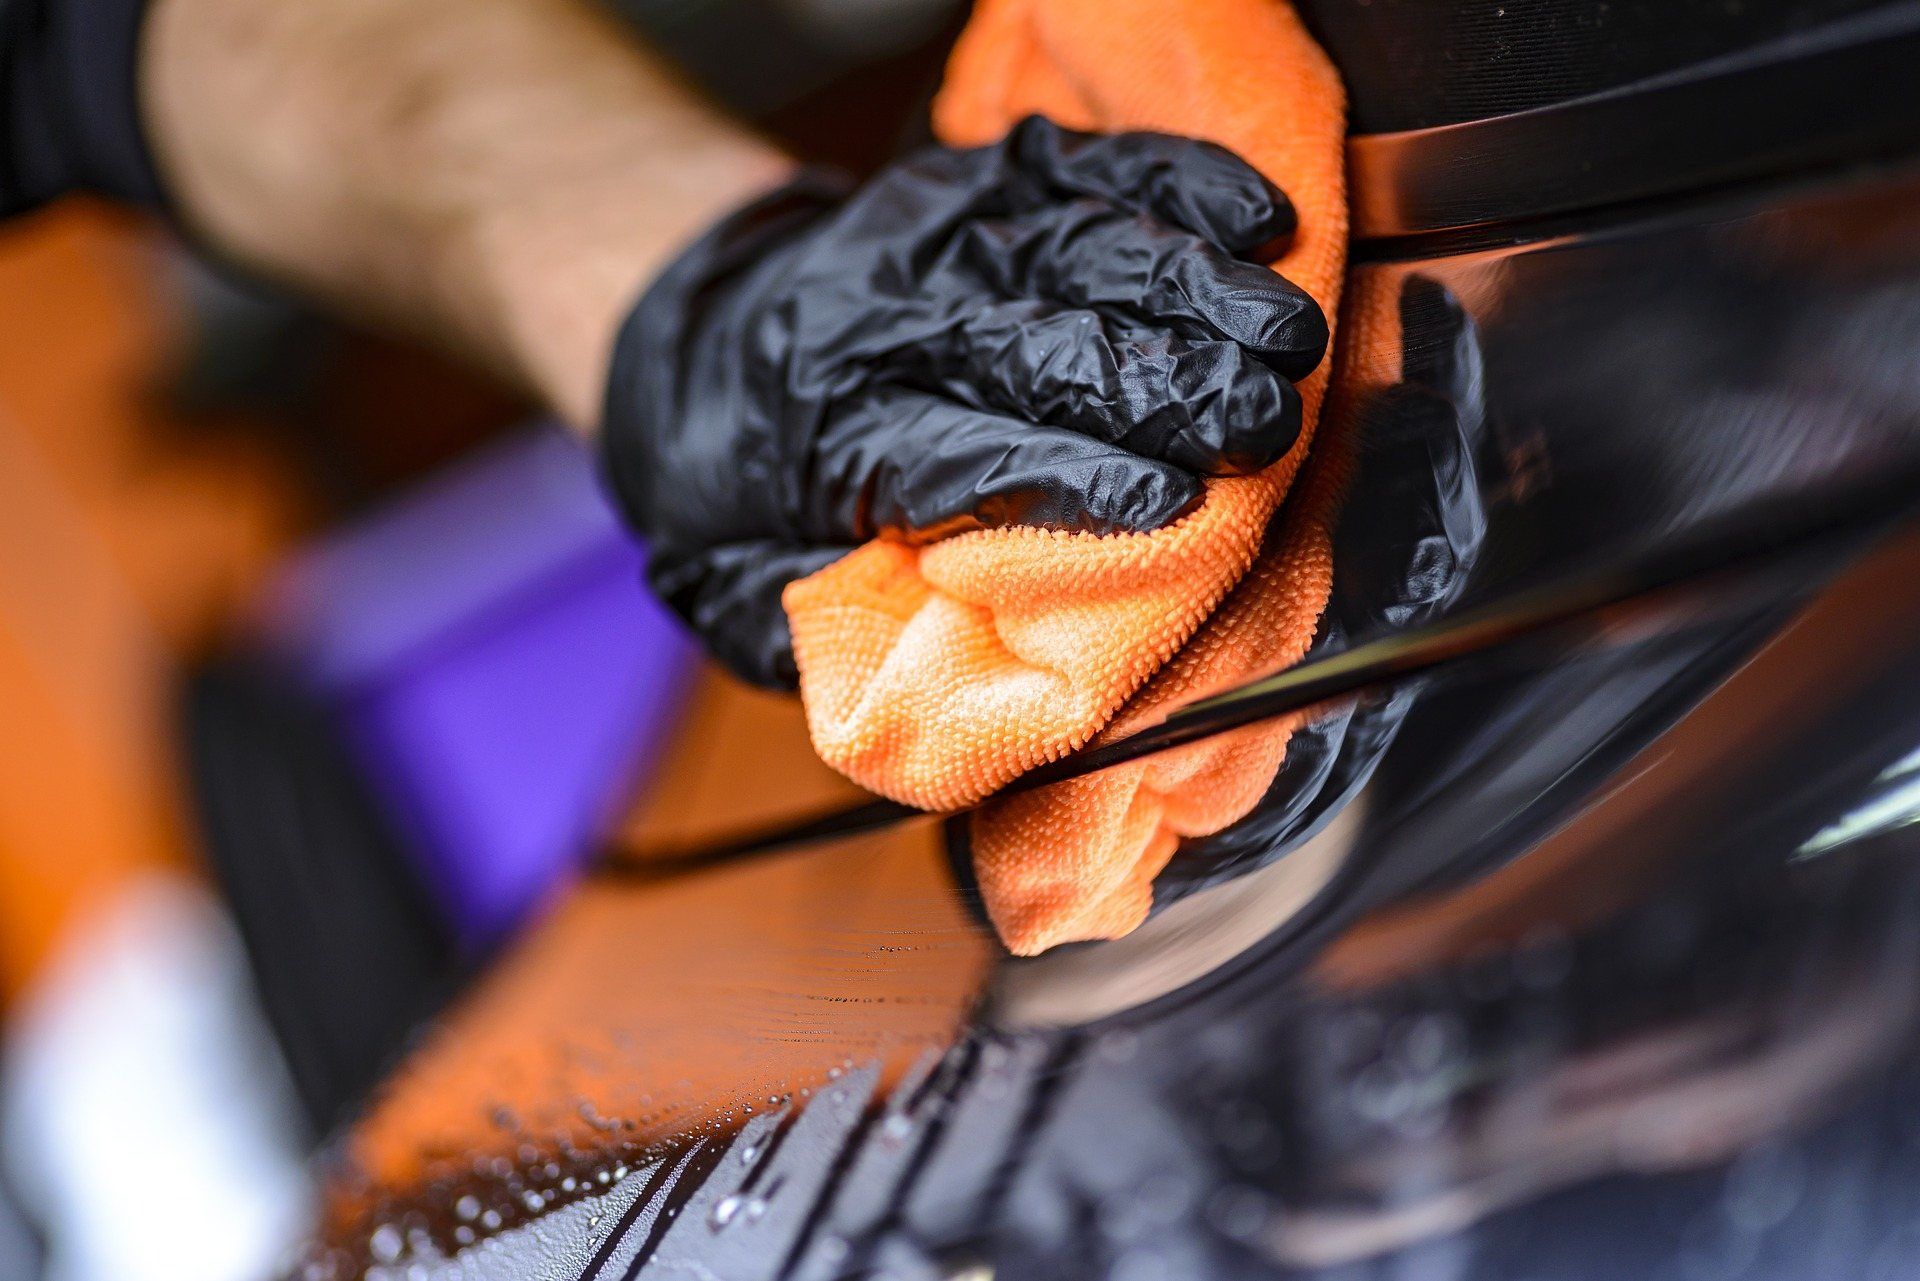
The best materials to use when scrubbing your motorcycle’s surface are a soft cloth or sponge.
Abrasive clothing and hard brush should be avoided to protect the paint of your bike.
Excessive scrubbing may leave a mark or gradually change the shades of the bike’s surface.
Repainting is always an option, but if you can save money by just giving it more time, then why settle for what hurts money-wise.
Other than the expenses, the effect of a damaged motorcycle paint reduces the driver’s confidence in using his bike.
Plus, if he is considering to resell it, the value will be reduced unless repainted at a certain cost.
The best choice to make is to just give motorcycle washing a generous time and delicate care it needs.
Tip #7: Rinse the motorcycle with clean water and wipe it all clean.
Rinsing the motorcycle with plenty of sanitary water will not only ensure a thoroughly clean bike but also remove harmful residues.
After washing and wiping the motorcycle, make sure to run it for several minutes before using or prepping it for storage.
This will allow you to admire your handiwork and make sure that all parts and components of the bike are at their best performance after being washed clean.
Tip #8: Wax your bike right after washing.
When no moisture is left on the bike, apply some soft wax to give it a glossy look and protect it from paint damage.
This can easily be done with some soft and clean rags. Your wax should be able to add an extra layer rather than take a layer off.
Since the wax serves as your bike’s sunscreen, it should be reapplied regularly for protection.
Tip #9: Frequently wash your motorcycle but don’t overdo it.
The benefits of frequently washing your bike are numerous. Doing so will alert you to any developing problems such as damaged parts, oil leaks, and many others.
You can also easily remove blemishes while they are still not difficult to get rid of.
Squashed insects, for example, can cause overheating problems and this is best addressed right away than later.
While it is a good idea to frequently wash your motorcycle there too are consequences when overdone.
For instance, by washing too often, you may remove the necessary lubricants on your cables and engines.
This can have serious consequences on your bike’s health which may result in untoward incidents.
If your bike gets too muddy, wash it right away without second thoughts. If it is just a little dusty, perhaps you can just wipe it clean with a soft cloth.
The important thing is to remember not to overdo the washing such that it removes the essential lubricant and causes the fading of the color of your bike.
Also Read: 13 Best motorcycle tires
Check out this cool video on how to clean your motorcycle:
How to Clean a Motorcycle Engine
A well-maintained motorcycle engine gives more benefit than just its cosmetic appeal. An engine that sparkles does not run any better than the dirty ones after all.
However, a clean engine will definitely curb its appeal which may attract buyers when sold.
Also, a well-maintained engine is able to run a little cooler than the gunky ones. This means better performance for your ride.
Whether you are cleaning it to make sure the bike is properly working or for aesthetic purposes only, your motorcycle’s engine should be kept in top shape and look.
Below is a detailed guide on how you can clean your motorcycle engine yourself without looking for a professional to do it for you.
Remove dirt and dust from the motorcycle engine.
The first step will be to remove any noticeable build-up of dust and dirt on your motorcycle engine.
You may use an air compressor to remove as much dust and dirt from it.
After doing so, cover the sensitive parts of the engine (ignition coil, fuse, spark plug etc.) with masking tape or some plastic bags to prepare for de-greasing.
Remove the engine grease with a degreasing agent.
After successfully removing the dirt and dust from your engine, apply your preferred degreasing agent on its surface and let it sit for about twenty minutes.
Depending on the potency of your degreasing agent, you may need to soak it for less or more than the indicated time.
Follow the directions that come with your degreaser product. After the specified period, remove all grease and dirt by rinsing the engine with a high-pressure spray nozzle water hose.
Dry the engine surface and apply some rubber seal protectant.
After removing the grease and dirt with water, remove any excess moisture you may find on your bike’s engine.
Use an air compressor when available then wipe it with some soft clothes or rags to entirely dry the surface.
Preferably, you should also air dry the surface for a couple of minutes before applying the rubber seal protectant.
The rubber seal protectant is intended to safeguard the engine from dust and dirt and to help keep them from drying out.
Follow the directions of your chosen product and apply the sealant on the hoses and fittings of your motorcycle engine.
Remove the tape or plastic and polish your motorcycle engine.
The masking tape or plastic you used to cover the parts of the engine should be removed.
Then, use a chrome polish and some soft towel to polish the surface of the engine.
Your end goal is to see a shiny gloss on the surface which may take a couple of minutes to achieve.
Check out: How to build your own motorcycle
How to Wash a Motorcycle at a Car Wash
The fastest way to wash a motorcycle is to look for the nearest car wash service provider in your vicinity.
As long as you have delivered your bike to their center, there really is not much to do on your part anymore.
Let’s look quickly at how most car wash service providers take care of your prized motorcycle.
Step 1
At the service center, your bike will be placed on a conveyor track or an open bay where it will be carefully positioned in preparation for washing.
First of all, the motorcycle will be sprayed with water to pre-soak the bike. After which, it will be sprayed with a special solution that contains chemicals to loosen the dirt on the bike.
Step 2
Once every nook and cranny of the bike has already been attended to, a foam applicator is then used.
It is basically a mixture of detergent and water which appears as a soft foam that is sprayed on your bike.
Scrubbers or soft cloth strips are then brushed along the surfaces of the motorcycle to thoroughly clean it.
The scrubbers used are very soft to ensure that no scratch is inflicted.
Step 3
After cleaning the bike with water and foamy detergent, a high-pressure washer is then used onto the car.
The water in this washer moves in circular patterns to provide a powerful scrubbing action.
Some car washers also have nozzles at ground level to remove dirt and mud at the bottom of the car.
The water utilized for this process is usually recycled environment-friendliness.
Step 4
The final rinsing comes next. This time, non-recycled water is used to remove any other residue left on the bike’s surface.
The bike is left to dry a little bit in a few minutes before a water-resistant wax coating is applied.
A motorcycle wax intends to protect the chrome surface of the motorcycle and polish it. This is either done using an automated system or by some car wash personnel.
Step 5
After the waxing comes the drying. In this process, a heated blast of air is let out towards the bike to dry its surface.
In some car wash servicing, some special chemical is used to speed up the drying process but it is not always necessary.
However, most drying is targeted at only the exterior of the bike so some attendants may still be needed to remove water in specified parts.
Step 6
When the motorcycle is completely cleaned and dried, you can now take your bike out for self-scrutiny.
In some service providers where the bike is brought to a tunnel, an attendant will usually bring the vehicle to you.
Before driving out, be sure to check the engine and let it power-up for a while to make sure everything is good to go.
Service centers can usually clean your bike in under ten minutes.
Because the entire process is quick, you can just wait for the cleaning to be done at their center or at nearby establishments.
Check also: 15 Best Dirt Bike and motocross helmets
Benefits of Washing Motorcycle at a Car Wash
While manually washing your motorcycle can be more economical, a car wash service is a better option if you want to have a professional car wash service for your bike.
It is especially true for those who have not yet mastered the art of motorcycle washing.
Here are some of the benefits of opting for a car wash service instead of the manual motorcycle washing option:
Your vehicle is safe from any scratches.
Many car wash service providers now use the automated car wash system. This is so they can cater to a lot of customers efficiently and provide them a quick service.
On the customer’s part, this means their bike will be free from scratches and untoward damages.
The automated service does not involve much person-handling and it ensures a safe spot for your bike.
This can still be achieved by manually washing at home but extra caution should be taken.
You have to consider, for example, the place where you are washing your bike in addition to many others.
Meanwhile, the car wash service center will be responsible for any damage inflicted by their machine or personnel on your bike so you are free from worries!
The market value of your bike will be preserved.
A car wash provider makes sure that all of their equipment and products used in cleaning your bike are safe on its surface.
Thus, your bike’s paint will be well-preserved and will be kept in its glossy state.
If you are considering to resell your motorcycle, it pays to have it serviced by the experts to preserve or even increase its market value.
Car wash service providers are environment-friendly.
Car wash service providers have to comply with a local government’s regulation on proper drainage and waste disposal.
If not, they run the risk of being penalized which may require them to stop operating the business.
Thus, they have to ensure an environment-friendly service that does not damage your bike or harm those living near their service center.
Lots of water is saved.
Many car wash service providers use recycled water that is clean and safe for your bike.
They use minimum resources to lessen wastage of water while ensuring the cleanliness of the serviced vehicles.
When you wash your bike at home, you may not want to think about water conservation anymore.
Worse, the water and products you use may pollute the surrounding areas or cause serious health consequences.
Professional car washing is time efficient and can be more affordable.
Needless to say, drivers opt for car wash services because they want to save time that they could spend elsewhere.
Motorcycle washing definitely requires some time and effort, but you can be time efficient by availing their services.
Having your motorcycle serviced only takes a couple of minutes in your day.
Contrary to what many people think, one can actually save more on car wash providers.
This is since you wouldn’t have to purchase liquid detergents, brushes and other materials anymore.
Also, take into account the amount of water you can save and you’ll realize it is actually more cost-efficient.
How to Wash Bike at Home
The best way to ensure a quality motorcycle cleaning is by doing it yourself at home.
With the right know-how and materials, you can even end up saving on the overall cost.
The best reward, however, is knowing that your bike is in a way better state than it was before cleaning it.
We now present to you a step-by-step guide on how to wash your motorcycle at home. One of the most popular brands is dyson that you should check out.
Remove any sensitive contents of your motorcycle.
As a best practice, ensure that your key is removed from the ignition before washing your bike.
Leaving it on will cause the water to enter which may corrode the bike’s electronic components or cause a short circuit.
Aside from this, remove any other contents under the seat and keep them in a safe place.
Prepare all your supplies and equipment ready.
When washing your motorcycle, nothing is worse than knowing you lack some supplies or that you don’t have the right ones.
If you work at home, you can pretty much customize materials to what are currently available, however, you have to make sure that they are not too risky for your bike.
The first thing to look for is, of course, a good source of clean water. You can either run water through your host or fill out a bucket with water.
You will also need a sponge, soft clothing, brushes, detergent, leather conditions, chamois, and microfiber.
If any of the clothing materials aren’t available, use one that has a close texture to them.
Basically, you need them to be soft and ultra-absorbent to avoid scratches on the bike and to effectively rid all water content.
Have a clean and tidy work area.
Position your motorcycle to an area at home that will not disturb passersby or your household members.
That is if you don’t have an intended washing area for your bike.
Make sure that the area is not under direct sunlight as it could dry your soap faster thereby making your job more difficult.
In addition, make sure your motorcycle is cool and kept cool before starting.
Cover the exhaust hole or other sensitive parts of the engine.
Stuff a rag or cover the exhaust hole with plastic to keep the water out during the cleaning process.
Do the same for other sensitive parts of the bike including the ignition coil, fuse and spark plug.
A sprinkle of water would not hurt these parts but a substantial amount of water can.
Spray some motorcycle cleaner and water to your bike.
To prevent the sticking of dirt to your sponge and clothing while you’re working, make sure to wash it away with your spray cleaner.
Make sure to read the directions that come with the purchased product to learn the exact amount of time needed.
A word of caution, do not use a power washer when rinsing it as it can damage the intricate parts of your bike. Opt for a standard pressure host instead.
Start working at the heart of the problem.
This time, start lathering your motorcycle with your cleaning solution. Apply it on the surface of your bike and thoroughly rid it with any dirt or grease using a sponge.
You may start at the engine or chains or from top to bottom.
Make sure that the solution is evenly applied and that you do not over scrub any sensitive areas with coating.
Splash everything away with clean water and leave it to dry.
After cleaning the entire bike with the solution, splash any residue away to make sure that no harmful chemicals are left on the surface of your bike.
This process should only take a relatively short time but nevertheless has to be very comprehensive.
Water left in the crease and crevices of your motorcycle has to be removed so it doesn’t compete with the heat of your engine or cause another set of dirt to stick.
There are air blowers available on the market for this job.
After which, use your chamois or microfiber cloth and gently wipe any remaining water droplets.
Lubricate the chain again and apply waxing on your motorcycle.
No matter how cautious you get in not hitting the lubed chain of your bike, there will undoubtedly be some soapy water on it.
Make sure to remove such and re-lubricate your chain.
This way, you can ensure that it will properly work after motorcycle cleaning. Let it sit again for a couple of minutes.
The final step is to apply waxing on the surfaces of your bike for a clean, glossy look.
The wax should also protect your paint from degradation while leaving a polished glistening appearance.
Make sure that before you drive down to the road, pre-heat the engine of your motorcycle for testing. Now, you’re ready to go!
Wrap-up
Among the many hot topics on motorcycle care that is relevant to the question of how to wash your motorcycle.
There are two main methods used: manual washing and car wash servicing.Though there are different methods, there are similar steps that are followed.
Car wash servicing gives you more convenient and affordability as you don’t need to perform the task yourself.
On the other hand, manual washing allows you to be more confident in the output.
Motorcycle cleaning is an essential aspect of driving that has to be paid more attention for satisfying results.
Find out about the best motorcycle helmet locks to keep your bike safe:
| https://themotoexpert.com/motorcycle-helmet-locks/ |

David Williams is an author with a passion for motorcycles and all things related to the world of two-wheeled vehicles. His expertise is evident on his website, The Moto Expert, where he shares his knowledge and insights with fellow enthusiasts. Follow him on social media to stay up-to-date on the latest motorcycle news, reviews, and trends. Whether you’re a seasoned rider or just starting out, David’s content is sure to inform and entertain. Join his community and become a part of the conversation today.

